about 900 words · 5 min read
By Nikka Industrial Limited · Oct. 12, 2025
DIY hardware accessories is the foundation of any successful home improvement or craft project. Whether you're a weekend warrior tackling home repairs or a passionate maker creating custom furniture, having the right hardware accessories can transform your DIY experience from frustrating to fulfilling. In this comprehensive guide, we'll explore the essential hardware tools, installation techniques, and expert tips that will elevate your DIY projects to professional quality.
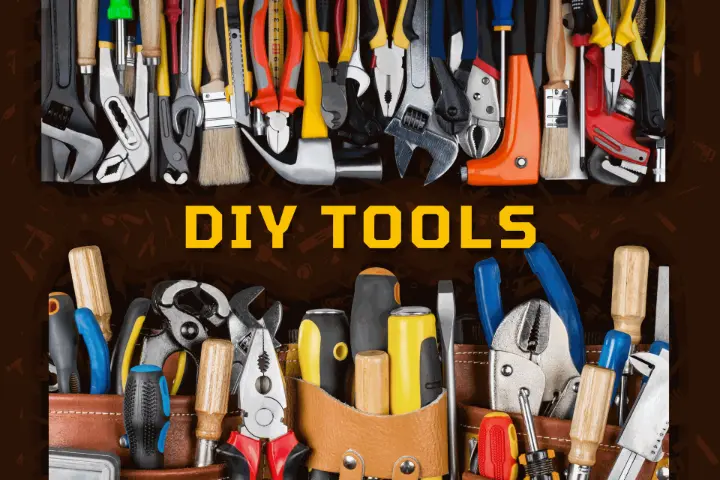
Table of Contents
- Introduction to DIY Hardware Accessories
- DIY Hardware Tools & Kits
- How to Install DIY Buckles Step by Step
- Choosing Quality Hardware Accessories
- Common Mistakes to Avoid
- Conclusion
- Frequently Asked Questions (Q&A)
Understanding DIY Hardware Accessories
DIY hardware accessories encompass a wide range of components including fasteners, buckles, brackets, hinges, handles, and connectors that serve as the building blocks for countless projects. From securing leather straps on handmade bags to mounting shelves on walls, these small but mighty components determine the durability, functionality, and aesthetic appeal of your finished work.
The global DIY hardware market has experienced tremendous growth, with more individuals embracing hands-on projects for both economic and creative satisfaction. Quality hardware accessories not only ensure structural integrity but also add professional finishing touches that distinguish amateur work from expert craftsmanship.
DIY Hardware Tools & Kits
Essential Categories of DIY Hardware
DIY Hardware Tools & Kits come in various forms designed for specific applications. Understanding these categories helps you select the right components for your project:
| Hardware Category | Common Components | Primary Applications | Skill Level |
|---|---|---|---|
| Fastening Hardware | Screws, bolts, nuts, washers, rivets | Joining materials, securing components | Beginner |
| Decorative Hardware | Handles, knobs, ornamental brackets | Furniture, cabinets, doors | Beginner-Intermediate |
| Functional Hardware | Hinges, slides, latches, locks | Moving parts, security features | Intermediate |
| Connecting Hardware | Buckles, clasps, D-rings, snap hooks | Bags, straps, outdoor gear | Beginner-Intermediate |
| Mounting Hardware | Anchors, brackets, mounting plates | Wall installations, heavy-duty support | Intermediate-Advanced |
Pre-Assembled Hardware Kits: A Smart Investment
For beginners and experienced DIYers alike, comprehensive hardware kits offer exceptional value. A well-curated kit typically includes:
- Variety of sizes: Multiple dimensions to accommodate different project scales
- Complementary tools: Basic installation tools like Allen keys or screwdrivers
- Organization system: Compartmentalized storage for easy access
- Installation guides: Step-by-step instructions with visual references
Pro Tip: Invest in stainless steel or brass hardware for outdoor projects. These materials resist corrosion and maintain their appearance through weather exposure and frequent use.
How to Install DIY Buckles Step by Step?
Buckles are versatile hardware accessories used in bags, belts, straps, and tactical gear. Proper installation ensures both functionality and longevity.
Step-by-Step Installation Guide
Step 2: Prepare the Webbing
- Measure the required strap length, adding 3-4 inches for folding and securing
- Cut the webbing cleanly with scissors or a hot knife
- Seal the edges with a lighter to prevent fraying (for synthetic materials)
Step 3: Thread the Buckle
- For side-release buckles: Thread the webbing through the male or female end, depending on your design
- Fold the webbing back on itself approximately 1.5-2 inches
- Ensure the buckle sits flat and isn't twisted
Step 4: Secure the Connection
- Sewing method (most durable):
- Use a box-stitch pattern (rectangular with an X through the center)
- Sew 2-3 passes for maximum strength
- Use matching or contrasting thread based on aesthetic preference
- Riveting method (for leather or heavy canvas):
Step 5: Test the Installation
- Pull firmly on both sides to ensure secure attachment
- Test the buckle mechanism multiple times
- Check for any twisting or misalignment
Safety Note: Always test hardware under controlled conditions before relying on it for critical applications like climbing gear or safety equipment.
Choosing Quality Hardware Accessories
Material Considerations
Metal Types and Their Properties:
- Stainless Steel (304/316): Excellent corrosion resistance, ideal for outdoor and marine applications
- Brass: Attractive finish, good corrosion resistance, slightly softer than steel
- Zinc-Plated Steel: Affordable, moderate corrosion protection, suitable for indoor use
- Aluminum: Lightweight, corrosion-resistant, best for non-load-bearing applications
- Bronze: Premium appearance, exceptional durability, higher cost
Quality Indicators
- Weight: Quality hardware has substantial weight; unusually light pieces may indicate thin material
- Finish: Smooth, even coating without bubbles, rough spots, or discoloration
- Tolerances: Parts fit together smoothly without excessive play or binding
- Markings: Reputable manufacturers mark their hardware with brand or grade information
- Packaging: Professional packaging with specifications and installation guidance
Common Mistakes to Avoid
Installation Errors
- Over-tightening: Strips threads and can crack materials
- Wrong fastener type: Using wood screws in metal or vice versa
- Inadequate support: Not using appropriate anchors for wall-mounted hardware
- Misalignment: Failing to measure carefully before drilling permanent holes
- Mixing metals: Combining dissimilar metals can cause galvanic corrosion
Selection Mistakes
- Choosing hardware based solely on appearance without considering load requirements
- Underestimating the quantity needed for a project
- Selecting indoor-rated hardware for outdoor applications
- Ignoring compatibility between different hardware components
Expert Insight: Always purchase 10-15% more fasteners than calculated. Having extras prevents project delays and allows for mistakes during installation.
Conclusion
Mastering Do It Yourself hardware accessories opens unlimited creative possibilities while building practical skills that save money and increase self-sufficiency. By understanding hardware categories, investing in essential tools, following proper installation techniques, and selecting quality components, you'll complete projects with professional results and lasting durability.
Remember that every expert DIYer started as a beginner. Start with simple projects using basic hardware, gradually expanding your skills and tool collection as confidence grows. The investment in quality hardware accessories pays dividends through years of reliable performance and the satisfaction of creating something with your own hands.
Ready to start your next DIY project? Gather your hardware, review these techniques, and create something remarkable!
Q&A
A: It depends on the hardware type and condition. Non-threaded hardware like buckles, D-rings, and solid brackets can typically be reused if they show no signs of wear, deformation, or corrosion. However, threaded fasteners (screws, bolts) should rarely be reused as threads become damaged during initial installation and removal, compromising holding strength by 30-50%. Hinges and moving parts should be inspected for wear; replace if movement feels rough or loose. Always prioritize safety over savings—when in doubt, use new hardware.
A: Apply the Safety Factor Rule: Calculate the maximum expected load, then multiply by 3-5 for static loads (shelves, mounted items) or 5-10 for dynamic loads (swings, hanging chairs). For example, a shelf holding 50 lbs should use hardware rated for at least 150-250 lbs. Always check manufacturer specifications for Working Load Limit (WLL), not Breaking Strength. When combining multiple mounting points, don't assume equal load distribution—design for the possibility that 70% of the load might concentrate on a single point due to uneven weight or wall structure variations.
A: Implement a three-layer protection strategy: Material Selection (choose stainless steel or brass for primary hardware), Protective Coatings (apply clear lacquer or specialized metal protectants annually), and Drainage Design (ensure water doesn't pool around hardware connections). For existing hardware showing early rust, remove corrosion with fine steel wool or a wire brush, apply rust converter, then seal with marine-grade clear coat. Consider using silicone or rubber washers to prevent water infiltration at mounting points. Regular inspection and maintenance every 6-12 months extends hardware life by 200-300%.
A: Budget hardware kits offer mixed value depending on application. For temporary projects, prototyping, or light-duty indoor use, they're cost-effective and acceptable. However, for structural applications, outdoor projects, or items with safety implications, invest in quality hardware from reputable manufacturers. Key differences include: material thickness (cheap kits often use 20-30% thinner metal), finish quality (affecting corrosion resistance), and tolerance precision (affecting fit and function). A middle-ground strategy: purchase quality structural hardware and use budget options for non-critical decorative elements. Remember that hardware failure often requires complete project disassembly and repair, costing far more than the initial savings.

5 Essential Do It Yourself Hardware Accessories Every DIY Enthusiast Needs in 2025